What is Developer Workspace?
The Developer Workspace enables you to create new topping drafts and helps manage them. The Bigin Developer Center provides a designated workspace for every developer to build and host toppings. You can create your own workspace or be a part of an existing one. The workspace lets developers work on multiple toppings and collaborate with ease.
To be a part of an existing workspace, you must have a Bigin Developer account. You will become a part of the workspace when you are assigned to the workspace by the owner of that workspace.
You can view your workspaces from Bigin Developer Center by navigating to profile > My Workspaces.

You can also switch between multiple workspaces as needed by navigating to profile > My Workspaces, and then select the workspace.

Creating a new workspace
When you use Bigin Developer Center for the first time, you are prompted to create a new developer workspace. To create, follow these steps:
- Go to developer.bigin.com ↗ and then sign in.
The Bigin Developer Center appears.
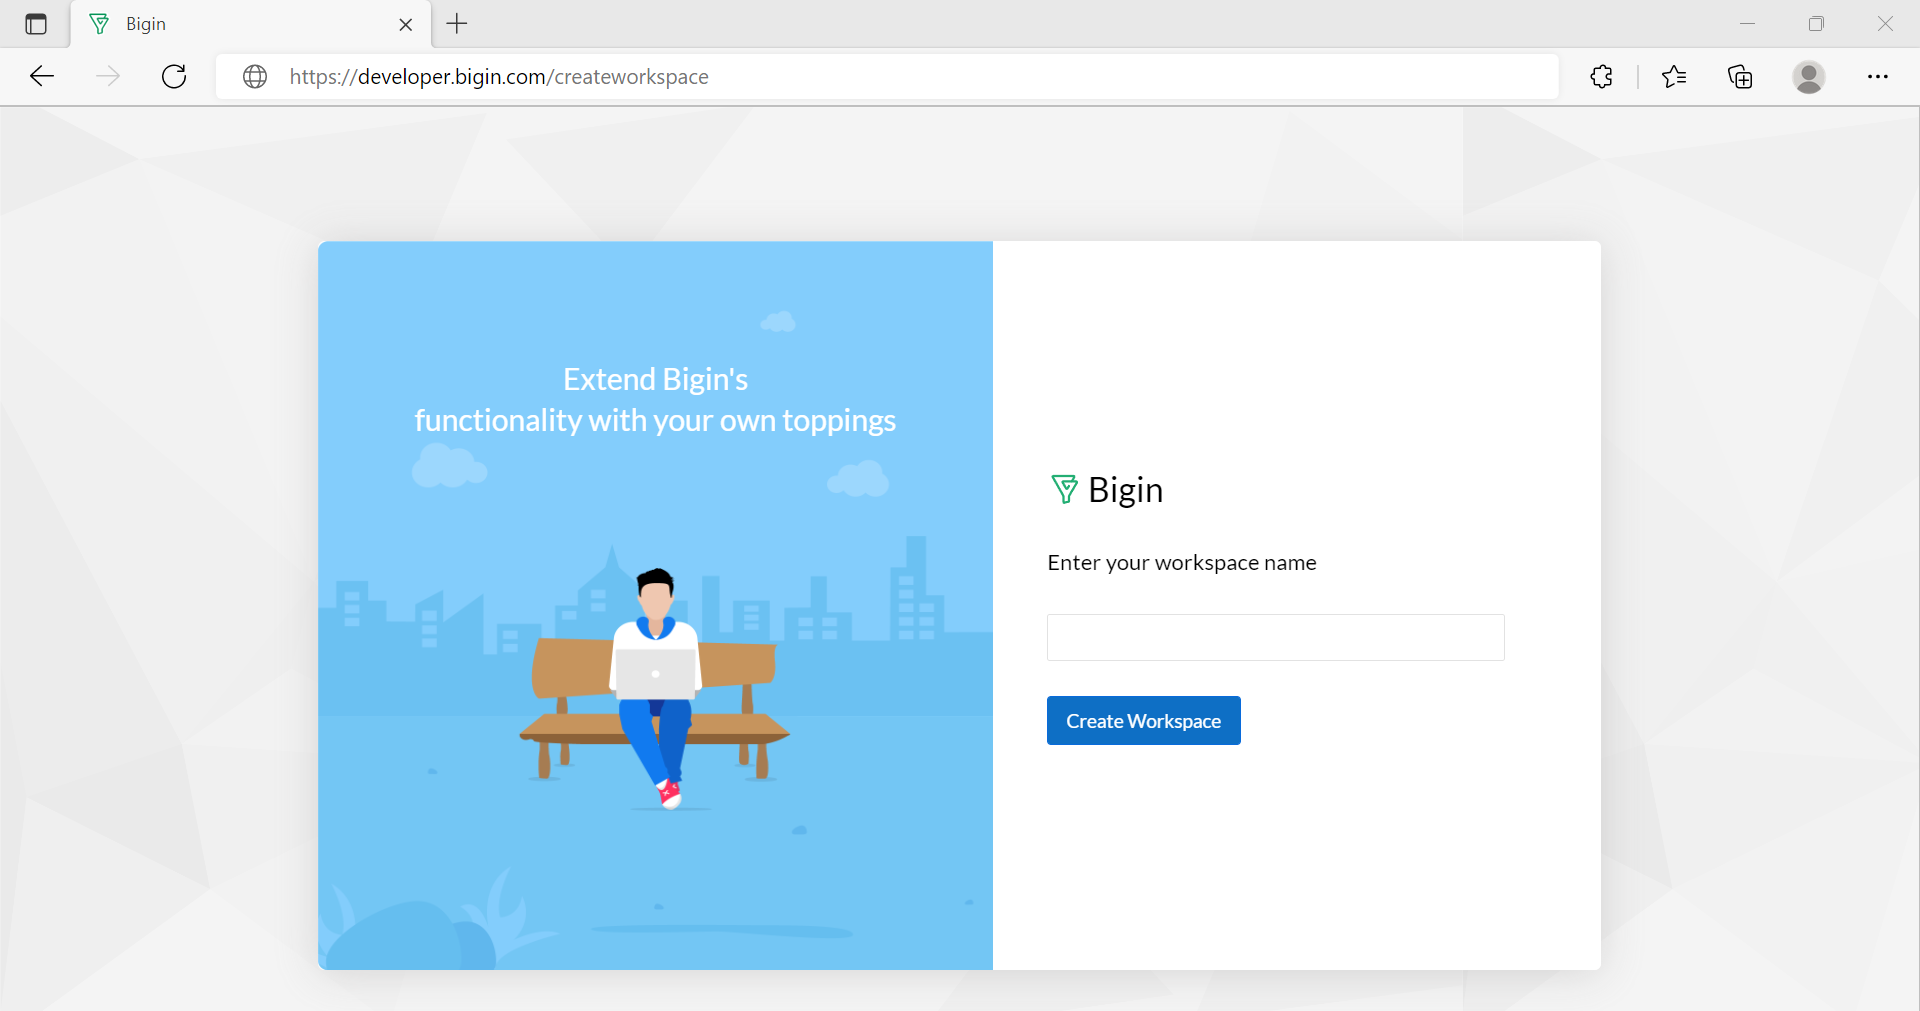
- On the create workspace page, type the name of the workspace as needed, and click Create Workspace.
Once you create a new workspace, you will directly navigate to your newly created workspace.


Also, when you create a new workspace, you will become the owner or admin of the newly created workspace. As an owner or admin, you can add other developers to the workspace for building a topping collaboratively.
Overview of Workspace Home Page
This is the first thing you see when you navigate to your workspace.

To help you get started with the development of a topping for Bigin, you need to understand the following features:
- The Search toppings allows you to search for the toppings that have already drafted or published.
- The Toppings tab displays both drafts and published toppings.
- The Published tab displays only published toppings.
- The Draft tab displays toppings, which are in-progress and saved to draft.
- The + Create Topping button allows you to create a new draft for the topping.
- The Profile icon allows you to do the following:
- View and edit the details of your account.
- View the workspaces you are part of and switch between them.
- Log out of your account.
- The Settings icon allows you to add new developers to the workspace and view audit logs.
Creating a new topping draft
To create a new topping draft, follow these steps:
- Navigate to the workspace on which you want to create a topping.
- Click + Create Topping.
The New Topping window appears.

- On the New Topping window, do the following:
- Name - Type a name for the topping as needed.
A Unique Namespace is generated when you provide the name for the topping and the namespace cannot be changed once the topping is created. - Description - Type the description for the topping. The description must contain a minimum of 25 characters.
- Read the terms and conditions, if you agree to them, select I agree to the terms and conditions, and then click Save.
- Name - Type a name for the topping as needed.

A blank topping is created and saved as a draft. You can further use this draft to build and publish the topping.
Adding a developer to the Workspace
When you want more than one developer to work on your toppings, you can create a common workspace and add developers to the workspace.
To add a developer, follow these steps:
- Navigate to the workspace you want to add the developer.
- On the upper-right corner of the workspace, click the Settings icon and then select Developers.

- On the upper-right corner, click + Add Developer.

- Type the Name and Email details.
- From the Role drop-down, select a role, and then click Invite.


The developer must accept your invitation to be the part of your workspace.
Notes
- If you are the owner of the workspace, you can add a developer as an admin or a member.
- If you are a member of the workspace, you can only add a developer as a member.