Building a New Topping
The first step for creating a new topping is to identify the custom features that enhance your unique business requirements. In the second step, you can make use of the available developer resources to encapsulate those custom features into a topping. Next, test the topping to take care of any possible errors, and then publish the topping privately within your organization or publicly to the marketplace.
Creating a new topping involves the following steps:
Step 1: Open the Bigin Developer Center
Go to developer.bigin.com ↗ and then sign in to your developer account.
If you already have an account with Bigin, you can sign in with your Bigin account. Otherwise, you need to sign up for a Bigin Developer Account ↗. For more information about the developer account, see Access Bigin Developer Center.
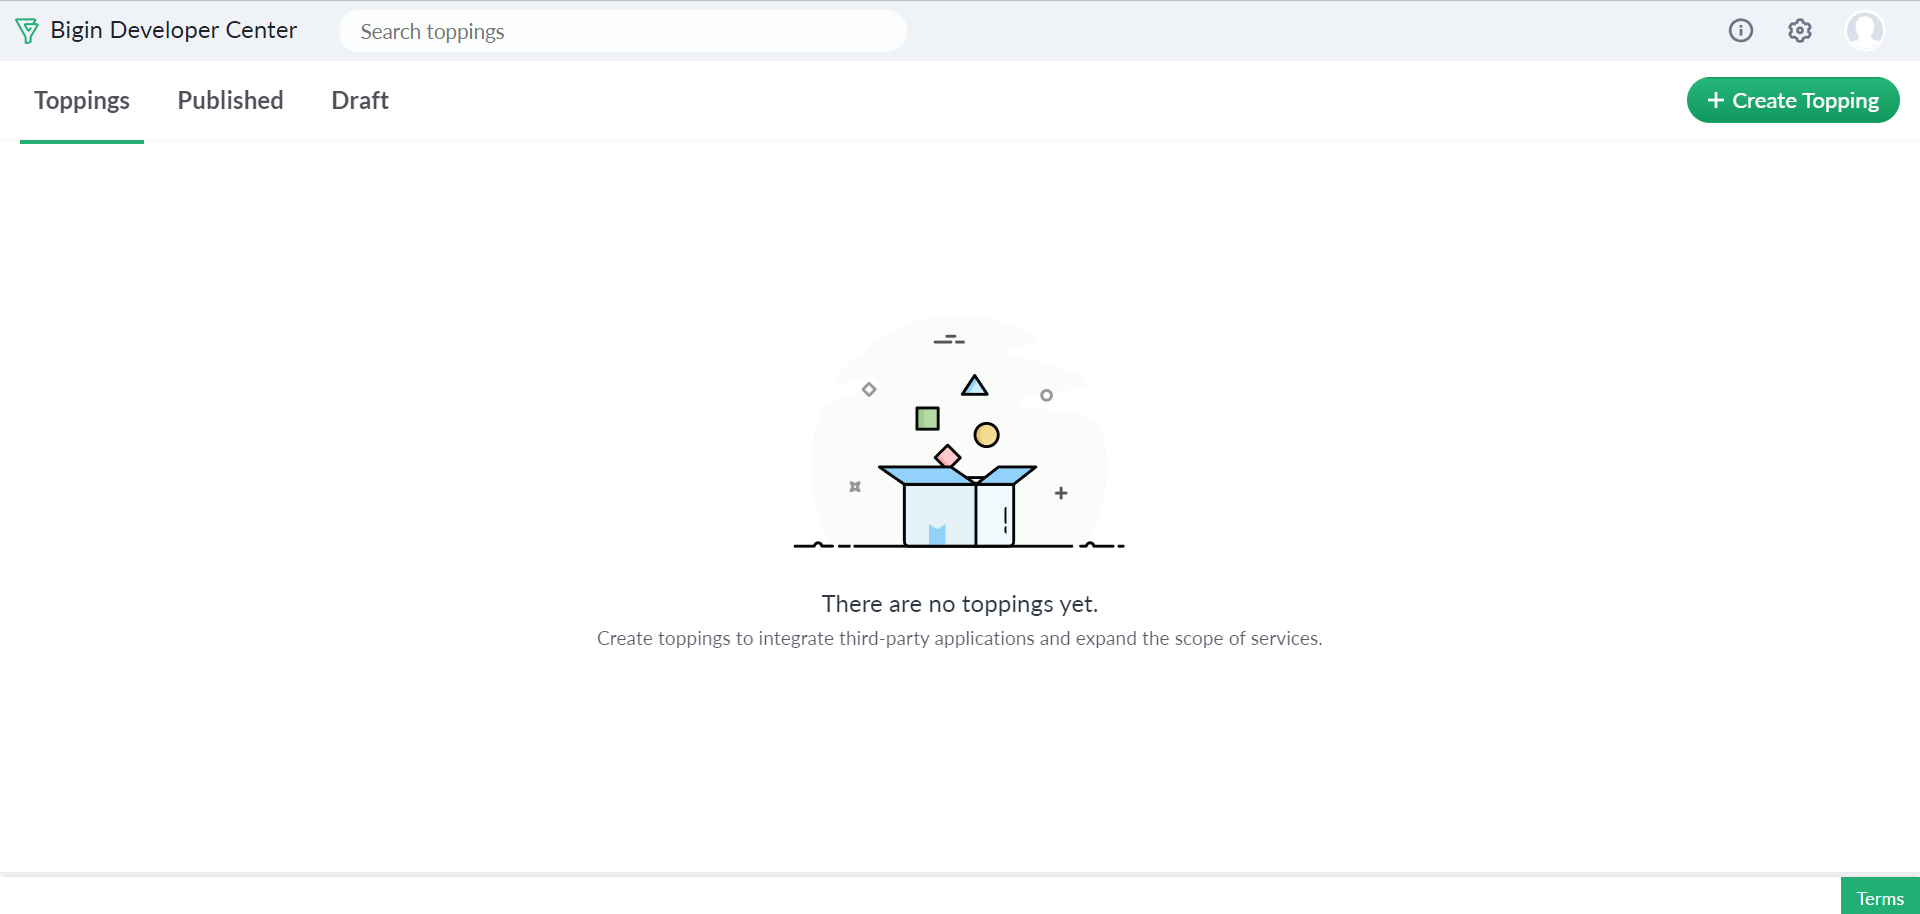
Once you sign in, the Bigin Developer Center appears.
Step 2: Register a new topping in the developer workspace
When you open the Bigin Developer Center, you may require to do one of the following:
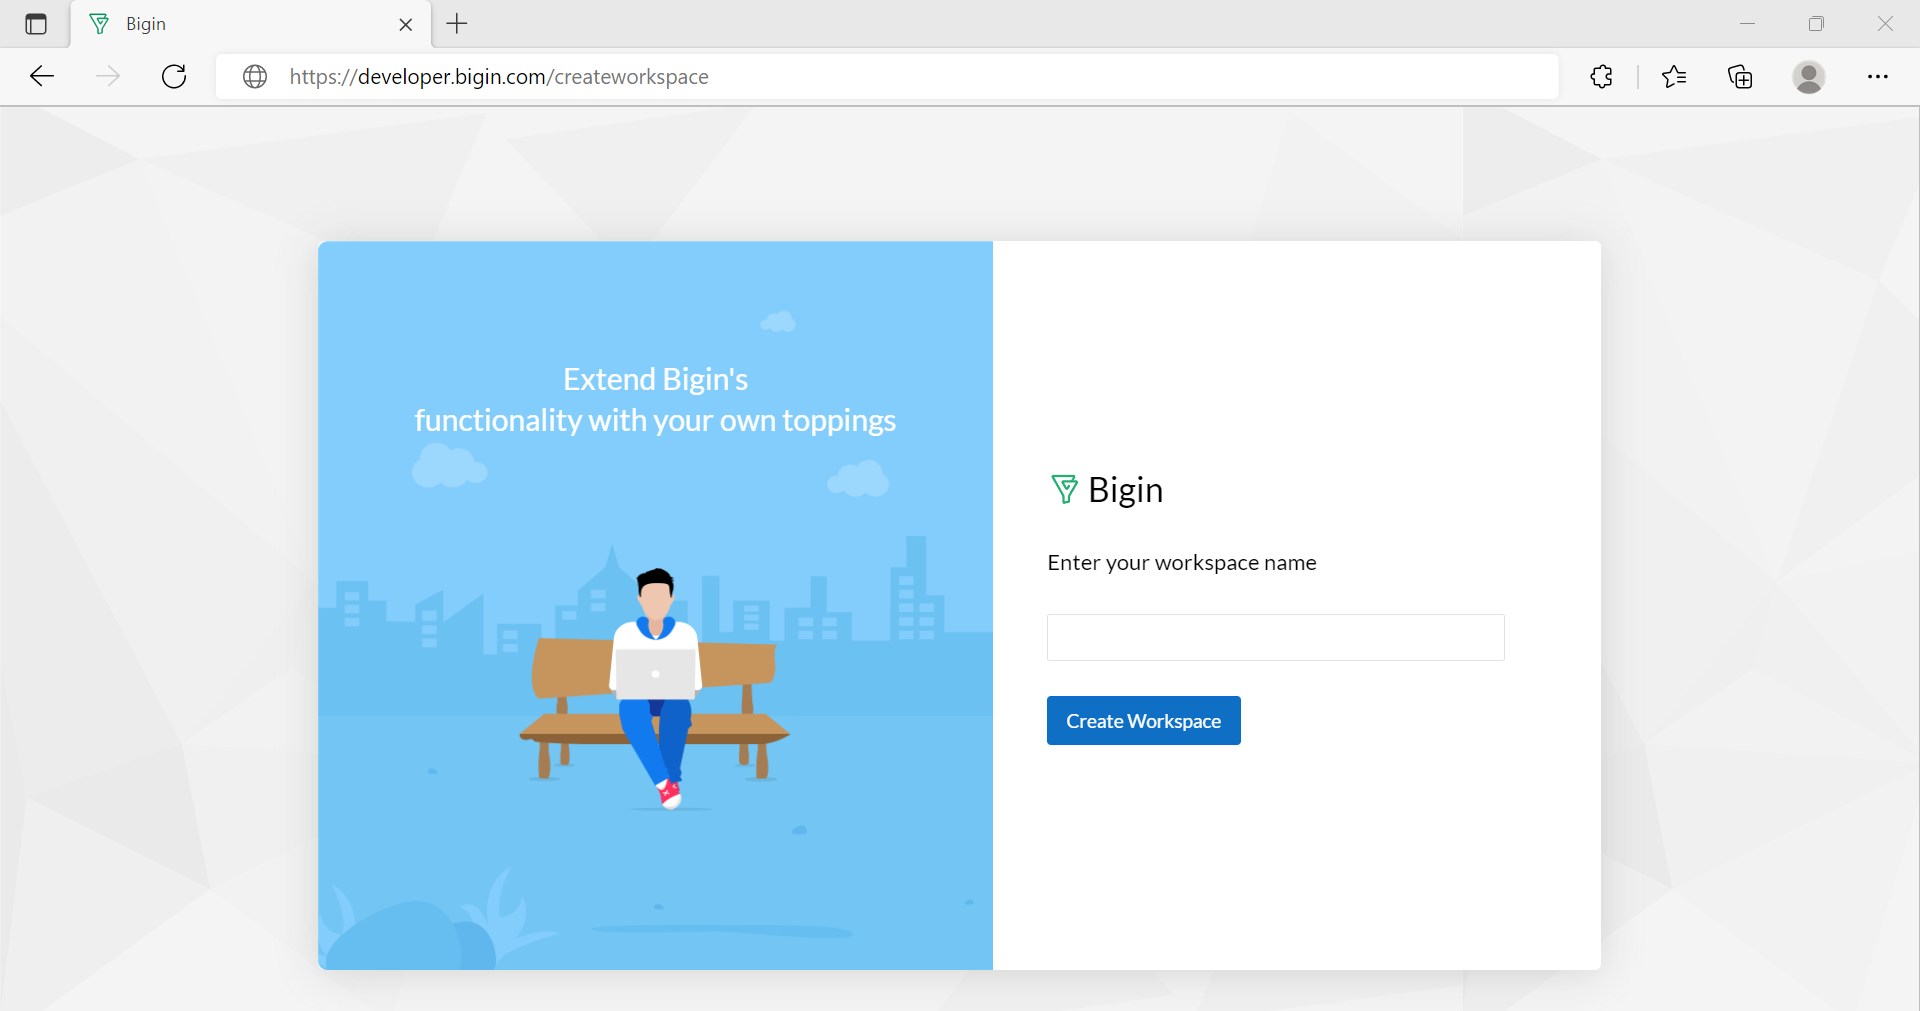
- If you are using Bigin Developer Center for the first time, you are prompted to create a new workspace. To know how to create a workspace, see create a new workspace.
- If you have already created a workspace and are not a part of any other workspaces, you can directly navigate to your workspace.
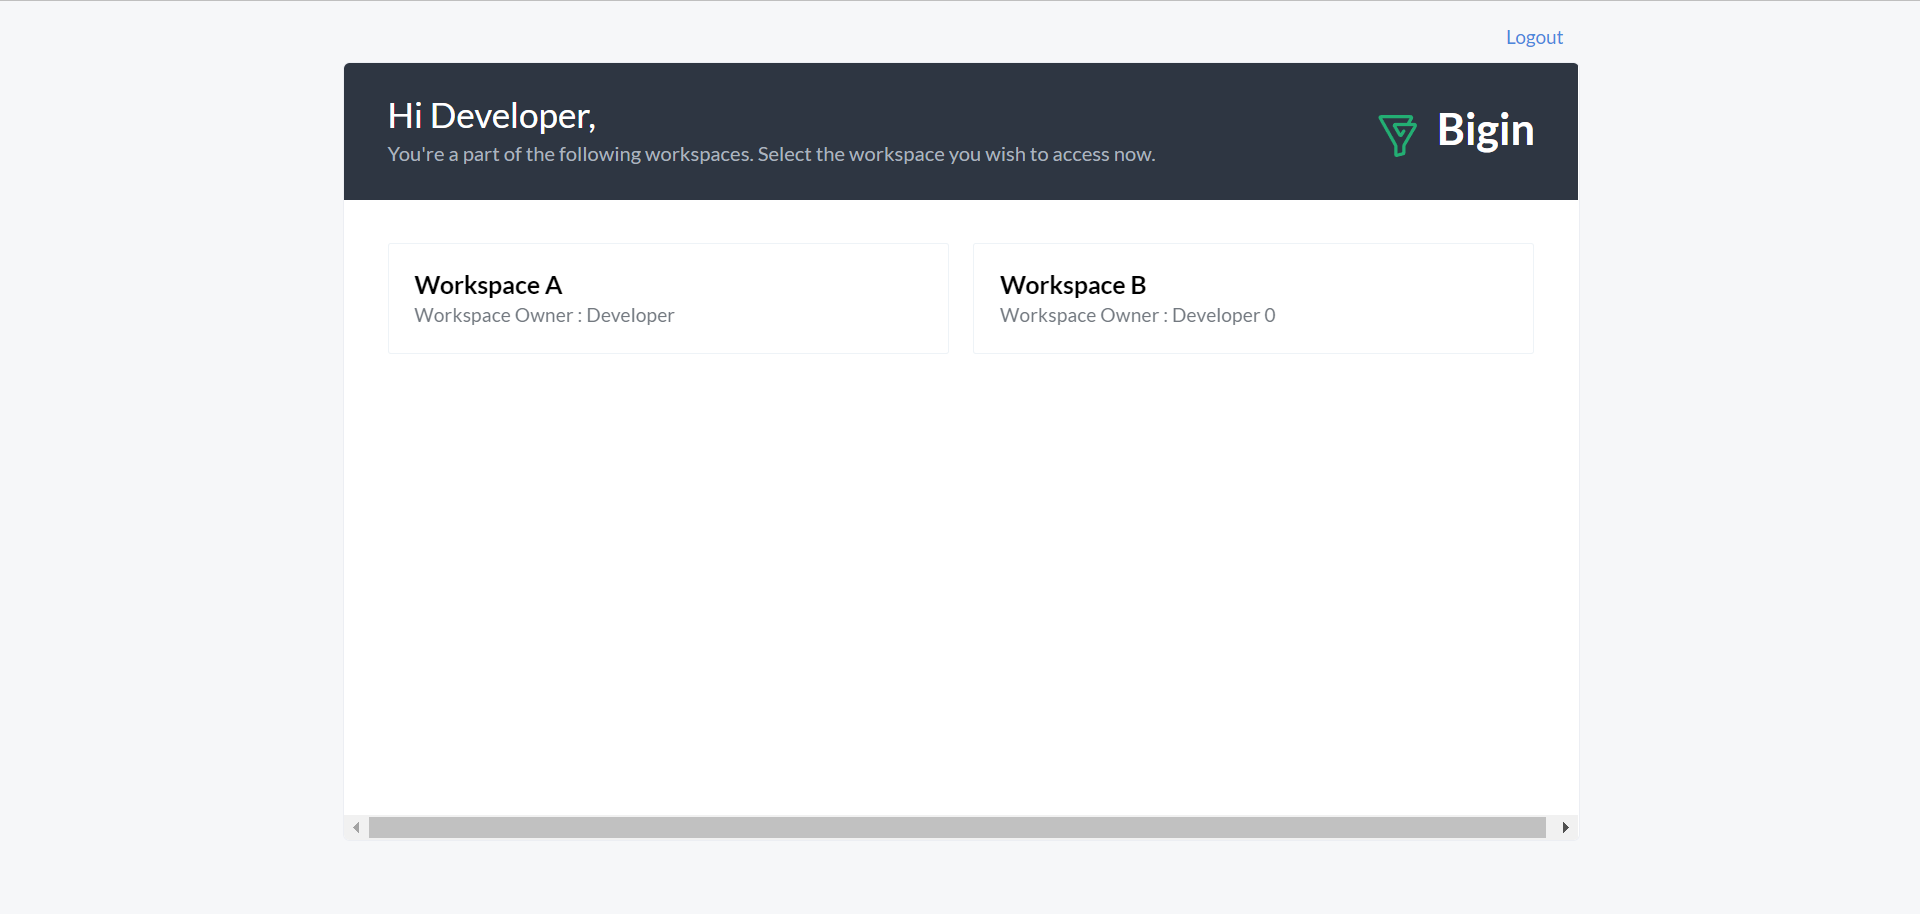
- If you are a part of multiple workspaces, you are prompted to select the workspace before creating a topping.


Now, you can create a new topping. To create, follow these steps:
- On the developer workspace, click + Create Topping.
The New Topping page appears in which you need to provide the primary details of the topping.
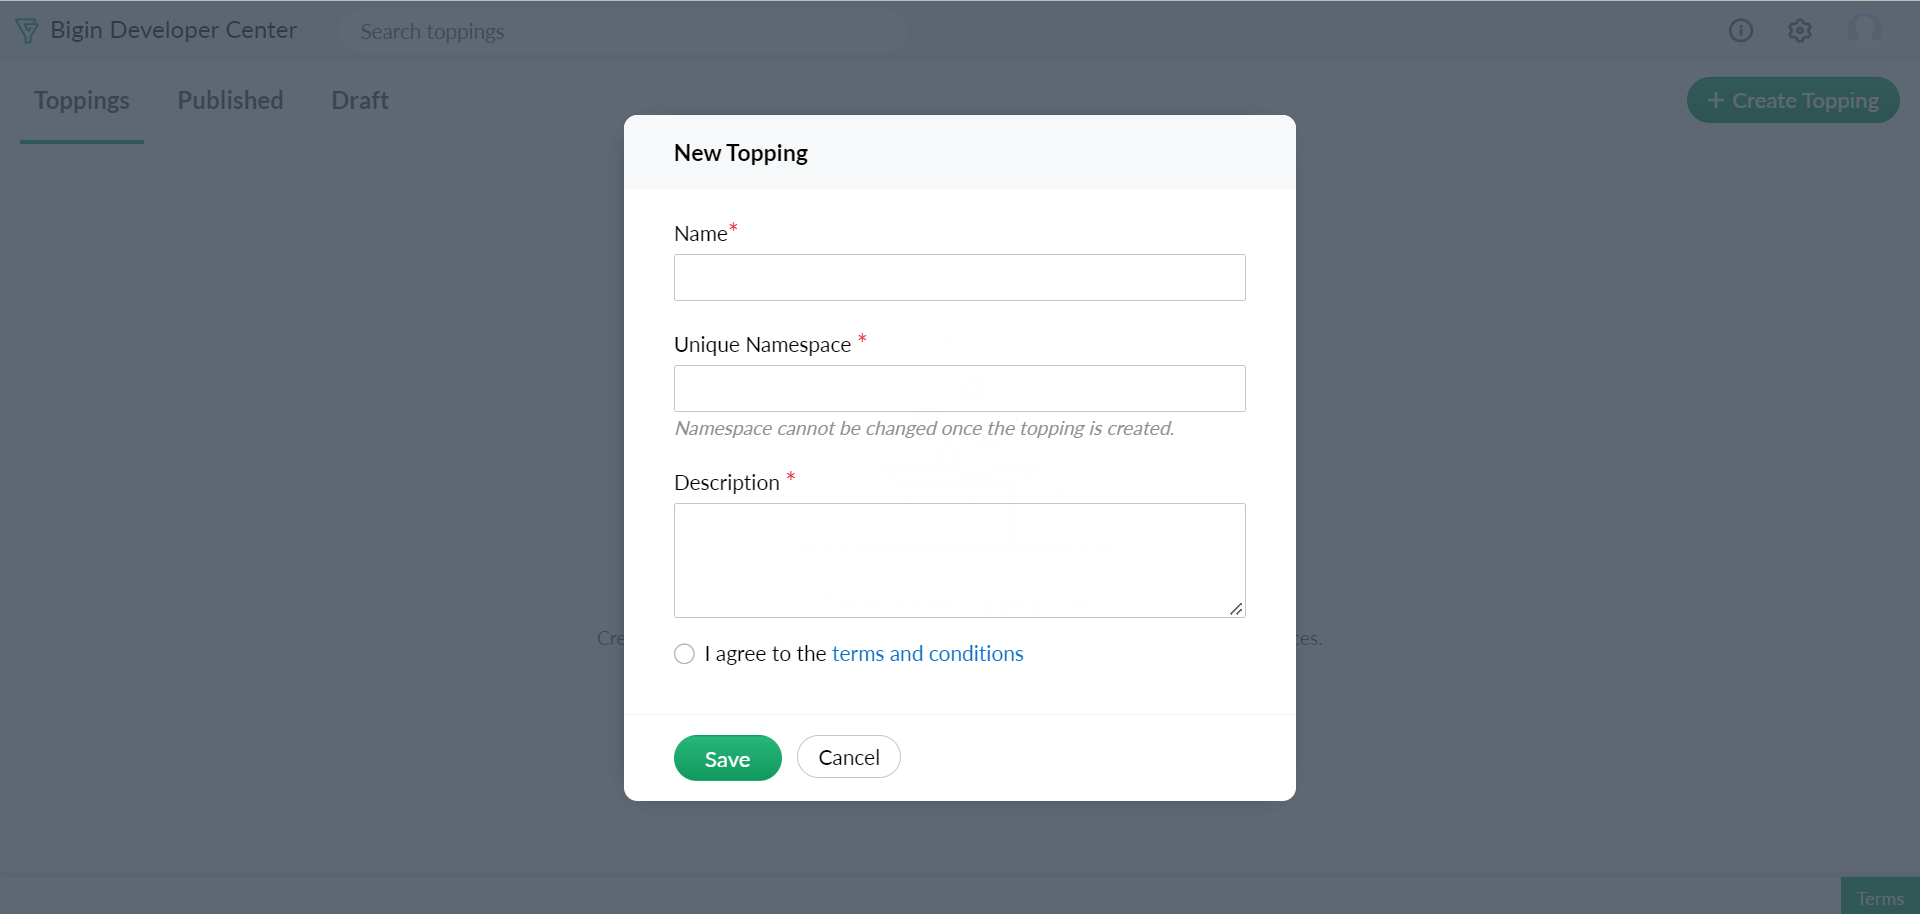
- For Name, type the name of the topping as needed.
The Unique Namespace generates automatically based on the given topping name. You cannot change the namespace once the topping is created.
- For Description, type a brief description of the topping.
- Agree to the terms and conditions ↗, and then click Save.

The new topping is created, which is blank and ready to be filled with custom components.
Step 3: Add the custom components
Next, you need to add the custom components to the topping and then customize the functionality of the topping using workflow tasks.
For adding custom components, see the following:
- Create a Custom Field
- Create a Custom Button
- Create a Custom Link
- Create a Custom Related List
- Create Widgets
For automating tasks, see the following:
For Integrating Third-Party Services, see the following:
Step 4: Package your Topping
Once your topping is filled with all the custom components and features, you can now package and make the topping available for publishing.
Bigin Developer Console allows you to bundle a post install and uninstall script along with your topping. To add the post install and uninstall script, see Adding Post Install Script or Uninstall Script.
Before you publish your topping to the marketplace, make sure your topping is properly tested and works as expected. To ensure this, you need to test your topping using sandbox environment provided by Bigin Developer Console.
Also, when you publish your topping to Marketplace, you can set up a price for your topping. This helps you to sell your toppings, and earn commission based on your topping's subscriber count. For more information, see Sell Toppings on Bigin Marketplace.
Step 5: Publish your Topping
Finally, your topping is ready for publishing. You can now make it available for others. The Bigin Developer console allows you to publish your topping in the following two ways.
You can publish your topping to the specific customers privately. For more information, see Publishing the Topping for Private Customers.
You can also publish your topping to marketplace in which the published topping is available for all customers. For more information, see Publishing the Topping to Marketplace.